Older Revision of Sony PlayStation 2 Eye Toy Disassembly
Revision: 20100602_045055 | All Revisions
Sony PlayStation 2 Eye Toy Disassembly
As mentioned in my "IBM PC Camera Disassembly" article, I've been trying to modify my web cams to see IR/UV light. But, so far, the IBM PC Camera hasn't made it easy. So I decided to take apart my Eye Toy (see photo below) and see if I can remove the IR/UV glass filter. And the procedure is documented here.
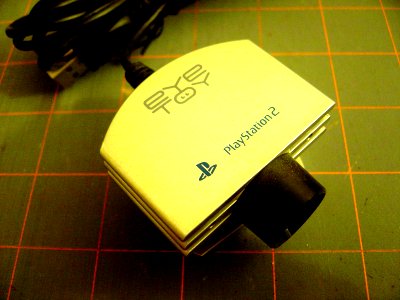
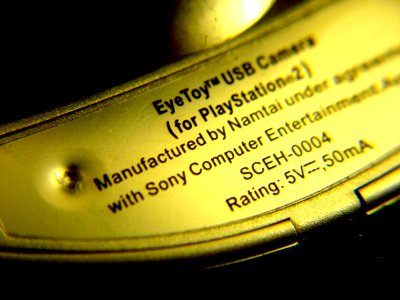
The Sony Eye Toy is a small web cam. There aren't much space to hide fasteners. So I poked around the product below and found two screw holes. The photo below shows one of the screw holes. The other one is on the other side of the label.
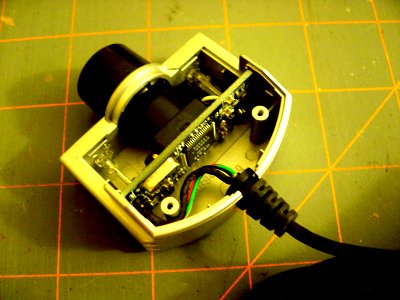
After removing the screws, the top cover comes off. You can see from the photo below that it's a tight package. In fact, you can't even remove the circuit board without removing the front lens element.
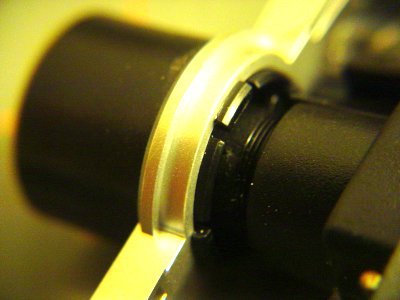
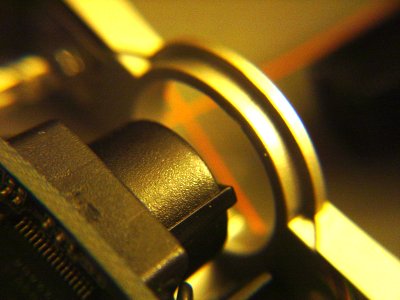
The front lens element is being held onto the case by four plastic tabs. Photo below shows one of the tabs. The only way for me to remove the front lens element is to rotate each one to the top and push each one downward.
Once the front lens element is moved, the circuit board is clear from any obstructions. The photo below shows the front lens element removed. The rear lens element is still attached to the circuit board.
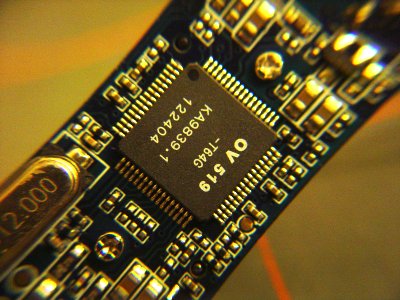
Removing the circuit board, you can see the chip designation (see photo below) clearly. There are two screws on both sides that keeps the rear lens element attached to the circuit board. You'll need to remove these screws to get to the image sensor.
After removing the rear lens element, you can see the image sensor. It's covered by the IR/UV filter glass. Looks like it's glued on. I haven't figured out how to remove this piece of glass without destroying the sensor. If you have any ideas, please share with us.
.jpg)
157 Users Online
|
$10000-above $5000-$9999 $2000-$4999 $1000-$1999 $500-$999 $200-$499 $100-$199 $50-$99 $25-$49 $0-$24 Gift Certificate |
|


