

Older Revision of Converting Video to DV Format
Revision: 20090217_075302 | All Revisions
Converting Video to DV Format
DV format is an industrial standard for making video's with your camcorder. That's the format that is transferred to your computer using a Firewire cable. Because it's a industrial standard, it's fairly easy to convert DV to any other format. Therefore, it is probably one of the best transfer format as well. For example, the OGG format that OLPC XO notebook computer understands can be converted from DV (see the "Creating OGG Video for the OLPC XO Laptop" elsewhere on this site). In this article, we will show you how to convert your video into DV.
Windows
The easiest way to generate DV format file is to use the free Microsoft Windows Movie Maker that is bundled with Windows. You can also download a copy from the Microsoft web site. If Windows Movie Maker recognizes your video file and can play it back, then you can use it to convert it into DV format.
Get started by loading up Windows Movie Maker. There are three columns. Drag your video file onto the Collection column. Windows Movie Maker will read and parse the video fie. If you get no errors, then Windows Movie Maker has no problem with your video file; therefore, you can use it to convert it into DV format.
After Windows Movie Maker parses your video file, it will show up in the Collection collumn. Click on your video in the Collection column. The player on the right will show the first frame of your video. You can verify that Windows Movie Maker reads your file correctly by playing it back in this window.
When you are satisfied with the fact that Windows Movie Maker can play your video, drag your video from the Collection column into the first rectangle in the Timeline at the bottom of the window.
After it shows up there, you are ready to generate the DV file. Click on "File" -> "Save Movie File...". That brings up the "Save Movie Wizard". The first dialog is the "Movie Location", where you'll select "My computer" and click the "Next >" button.
You'll be presented with the "Saved Movie File" dialog, which lets you type a name for your movie and a location to save your movie file. I suggest suffixing your movie file name with ".DV". That would help you determine what video format it is when you come back to it months later. When you are done entering a name and specifying a location, click the "Next >" button to continue.
On the next dialog, "Movie Setting", screen, you'll select the file format for your video. If this dialog shows the "Show more choices..." link, click on it. That brings up more options. Select "Other settings:". The pull-down menu will enable. From the pull-down menu, select "DV-AVI (NTSC)". At this time, you've told Windows Movie Maker to save the video in the DV format. Click the "Next >" button to continue.
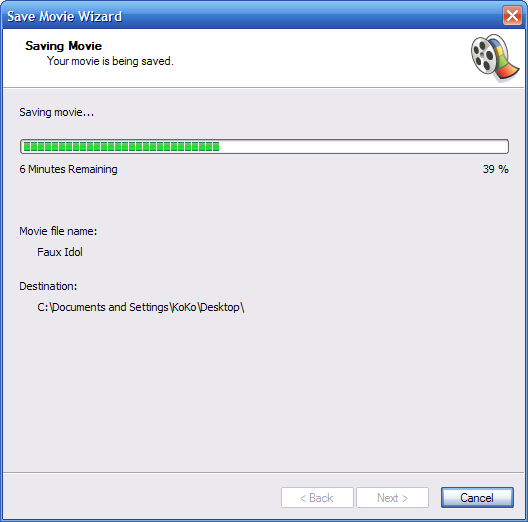
After clicking the "Next >" button, Windows Movie Maker proceeds to convert your video (see screen shot below). It could take some time, especially for long videos, as DV format is quite large. Once Windows Movie Maker has converted your video, click the "Finish" button to close the "Save Movie Wizard". You now have a DV version of your video.
Related Links
424 Users Online
|
Get Our
$10000-above $5000-$9999 $2000-$4999 $1000-$1999 $500-$999 $200-$499 $100-$199 $50-$99 $25-$49 $0-$24 Gift Certificate 
|
|