

Older Revision of Make Your Photograph Dynamic with ClipChamp
Revision: 20240504_082514 | All Revisions
Make Your Photograph Dynamic with ClipChamp
Chances are you already have Microsoft ClipChamp installed on your Windows 11 PC desktop, notebook, or tablet. If not, you can get it for free on the Microsoft Store.
It is quite easy to add dynamic special effects to your still photograph. We will show you how to do it step-by-step in this article.
Step 1: Create a New Video
Once you have ClipChamp installed and loaded, you'll see a large "Create a new video" button in its window as shown below.

Click on that big button to get started on creating your dynamic photograph video content. Once you do, you'll get to the video editing time line screen. Drag your photograph on the "Import media" area. The screen shot below shows the imported photograph that we are going to work with today.

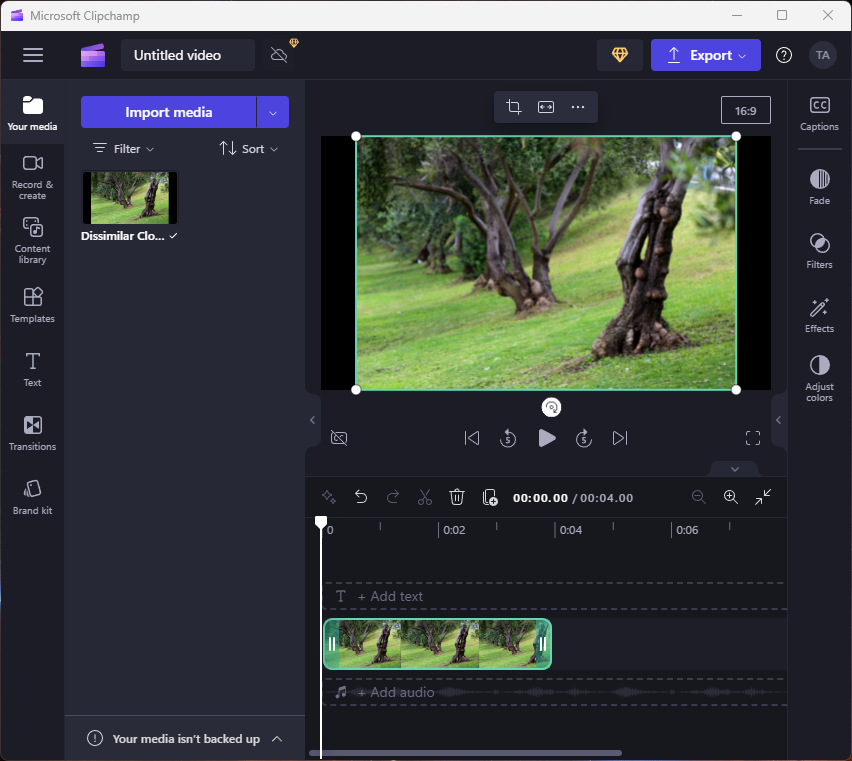
Now drag-and-drop the photograph from the "Import media" area into the timeline, where it says, "Drag & drop media here". By default, ClipChamp will create a 4 second video of your photograph as shown in the screenshot below. You can change the duration of the video by dragging the beginning or the ending on the timeline.
513 Users Online

$10000-above $5000-$9999 $2000-$4999 $1000-$1999 $500-$999 $200-$499 $100-$199 $50-$99 $25-$49 $0-$24 Gift Certificate 
|
|