

Older Revision of Authoring DVD with Microsoft Windows Media Center
Revision: 20070924_011146 | All Revisions
Authoring DVD with Microsoft Windows Media Center
A video DVD that can play back on any consumer DVD player is probably the best format for distributing your home made videos to your family and friends. In order to burn a DVD that is playable on a DVD player, you have to use a DVD authoring software. Unfortunately, I've learned that not all DVD writers come bundled with a DVD authoring software.
The good news is that Windows XP Media Center edition comes with the Media Center software that could author DVD's. It has a very simple user interface and could help you burn a standard video DVD in only a few steps. Of course, you can't author any fancy DVD menu, nor get rid of the Media Center logo on the upper right hand corner. Unless you are authoring a professional DVD, the Media Center's quick and easy DVD authoring interface more than made up for its deficiencies.
In this article, I will show you step-by-step process of authoring your own video DVD using the Microsoft Windows Media Center. I will be producing a DVD titled "The Making of a Commercial" as the example for this article. You will substitute your own DVD name and substitute your own videos while following the instruction.
Place Videos You Want Into "My Video"
Windows Media Center will only see videos that you have placed under your "My Videos" directory. This directory is located under "My Documents" as shown in the screen shot below. "My Documents" is located in your Start menu. Or you can get there using Windows Explorer.
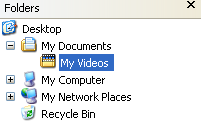
Simply copy or move your videos to the "My Videos" directory and Windows Media Center will be able to find it.
Rename the Videos
After copying or moving the videos you want to burn to a DVD to the "My Videos" directory, you should rename the video to whatever whatever name you want to show up in the DVD menu. Each individual video will become a chapter on the DVD menu. And if the name if too long, it will be chopped off at the right side of the DVD menu. So be sure to keep it short, say 10 or 20 characters.
Leave the file name extension as is. Windows Media Center will automatically ignore the extension when creating the DVD menu; the file extension won't show up.
Create Video DVD With Media Center
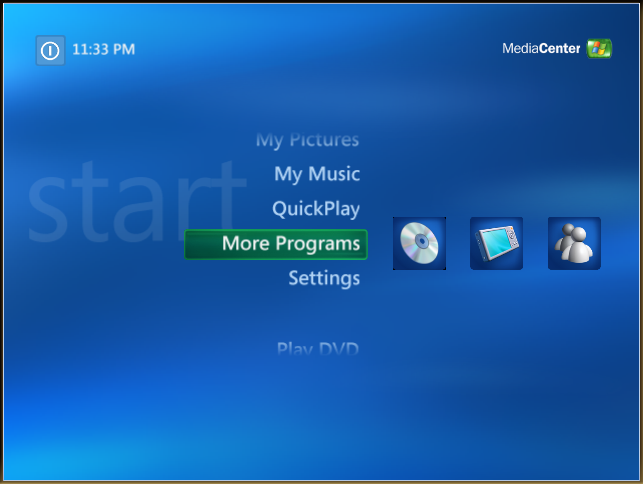
When you are ready to author your DVD, load up Windows Media Center. The DVD authoring tool is located under "More Programs" (see screen shot below).
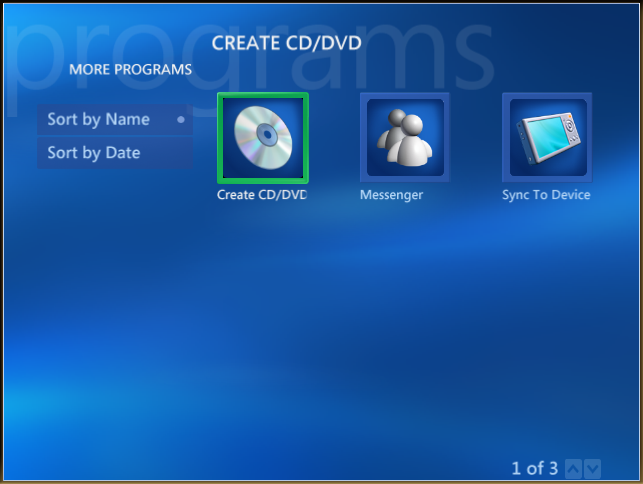
The first icon under "More Programs" is the "Create CD/DVD" tool (see screen shot below). This is the tool you'll use to author your DVD.
Tip
In the Vista version of Windows Media Center, the "Create CD/DVD" tool is under "Tasks" rather than "More Programs"
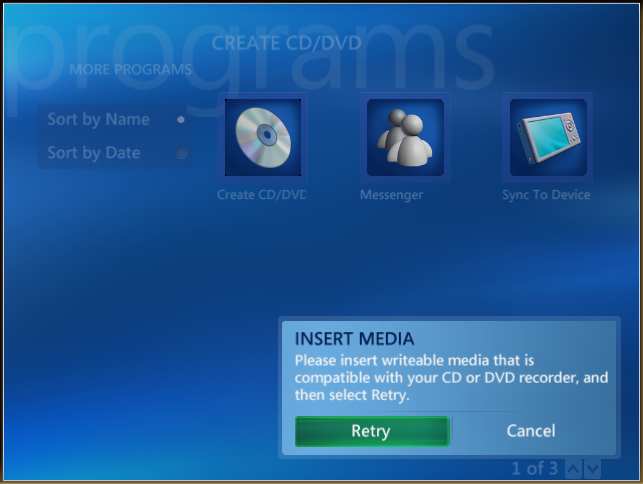
Once you've selected this tool, Windows Media Center will ask you to insert a disc into your drive (see screen shot below). Insert a DVD+/-R at this time.
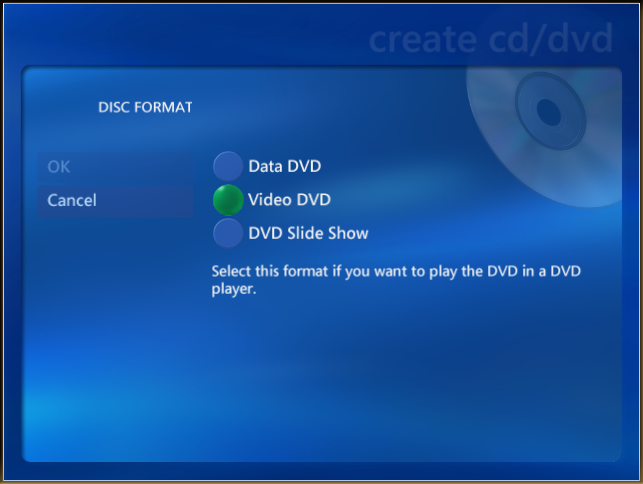
Windows Media Center will give you the option to make different types of DVD's: 1) Data DVD; 2) Video DVD; and 3) DVD Slide Show. Choose the "Video DVD" option as shown in the screen shot below. Then click on the "OK" button.
In the next screen, Windows Media Center asks you to name your DVD. Type in the name. Keep in mind that the maximum length of your DVD name is 16-characters. For "The Making of a Commercial" DVD I tried to produce, the name is just too long. So I shortened it to "Make Commercial" as shown in the screen shot below. Click on the "OK" button when you are done.
[name your DVD screen shot]Next, Windows Media Center asks whether you want to make a DVD out of your "Recorded TV" or "Videos". Choose "Videos".
[Select Media Screen shot]At this time, Windows Media Center allows you to select the videos that you want to add to your DVD. Put check marks on the videos that you want to add to the DVD (see screen shot below). When you are done selecting the videos, click on the "View DVD" button.
[Select Videos]On the screen shown in the screen shot below, Windows Media Center allows you to arrange the video in any order you like. Use the up-arrow button to move a video up. The down-arrow button moves the video down. The x-button removes the video from this DVD-burning process. When you are happy with the order of the video, click on the "Create DVD" to begin the burn process.
[Arrange Videos]Windows Media Center will ask you whether you would like to create a disc with the files that you selected (see screen shot below). Select "Yes" to burn your DVD. Select "No" will bring you back to the previous screen.
[Initiating Copy]Once you've selected "Yes", Windows Media Center will start the conversion and the burn process. It will convert all your videos into a the correct format for a DVD. Then it will proceed to burn them to your DVD+-R. You can see the progress bar as shown in the screen shot below.
[Creation Progress]Related Links
425 Users Online
|
Get Our
$10000-above $5000-$9999 $2000-$4999 $1000-$1999 $500-$999 $200-$499 $100-$199 $50-$99 $25-$49 $0-$24 Gift Certificate 
|
|