

![]() Attach
|
Attach
|
![]() Edit
|
Edit
|
![]() Revisions
Revisions
![]() Related Content
Related Content
How to GeoTag Photos Using Google Map on Your Android Phone?
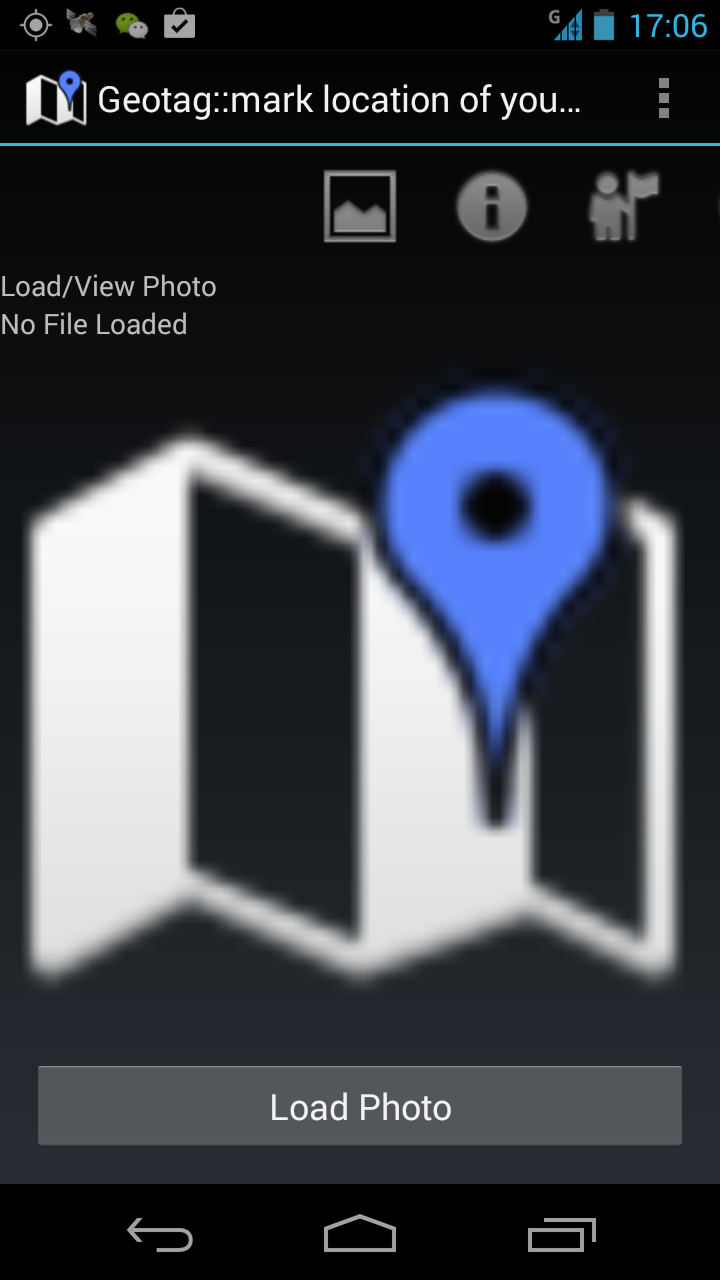
If you want to share your location with friends and family or want to remember where you took a particular photo, you can add geotags, or location tags, to your pictures. Geotagging photos using Google Maps is easy on Android.
In this tutorial, we'll show you how to geo-tag photos using Google Maps on your Android phone. With this feature, you can add location information to your photos so that others can see where the photo was taken. This can be useful if you're sharing photos of a trip or event and want to let others know where it was. To geo-tag photos, you'll need to have the Google Maps app installed on your phone.
Step-by-Step to Geotagging
First, open the Google Maps app and make sure you�re signed in. Then, tap the menu icon in the top left corner of the screen.
In the menu, tap �Your timeline.� If this is the first time you�re opening Your timeline, you may be asked to turn on Location History.
Next to the search bar, tap the three dot menu icon and select �Settings.�
In the Settings menu, tap �Control Location History� and then turn on the �Location History� switch.
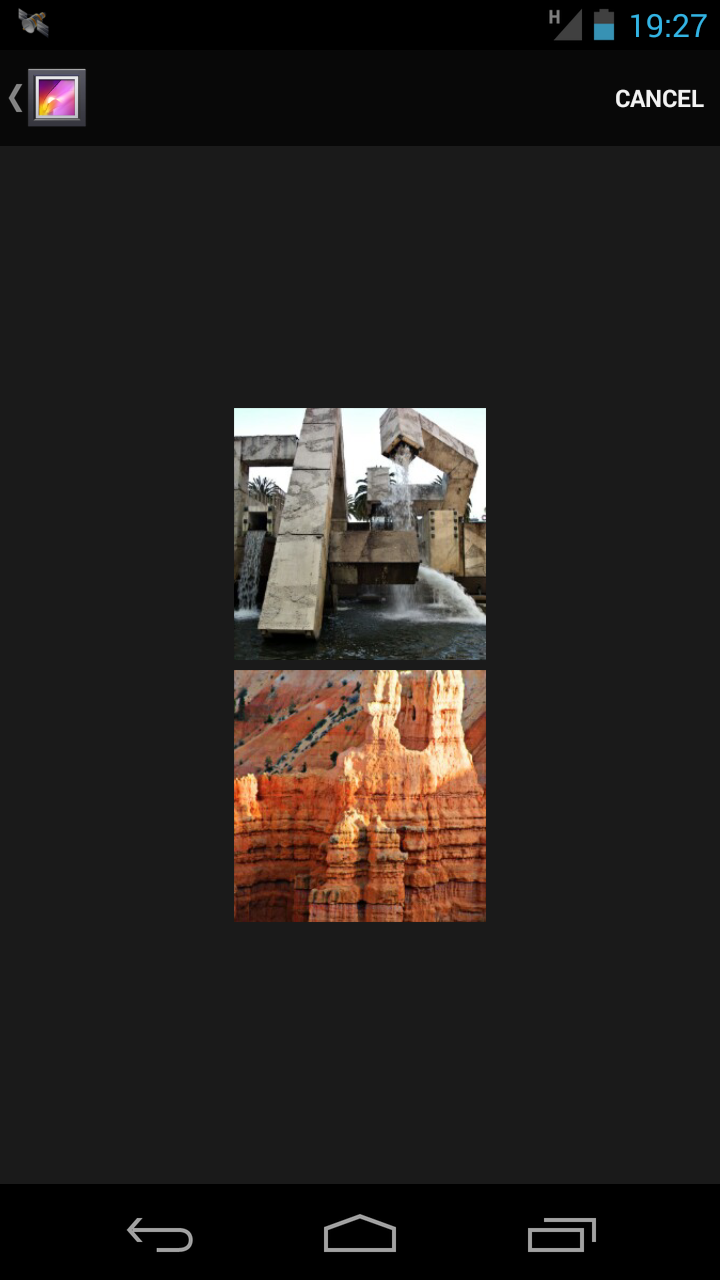
Now, go back to Your timeline and tap on a day to view the photos you took on that day.
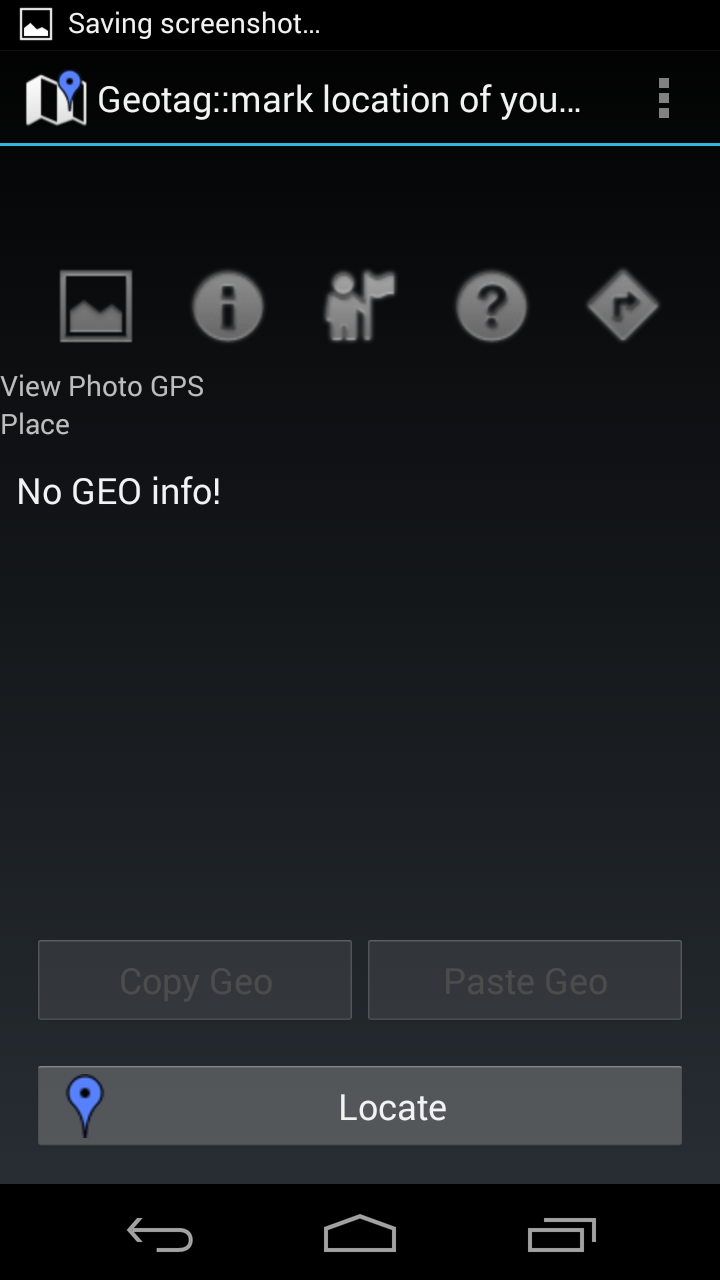
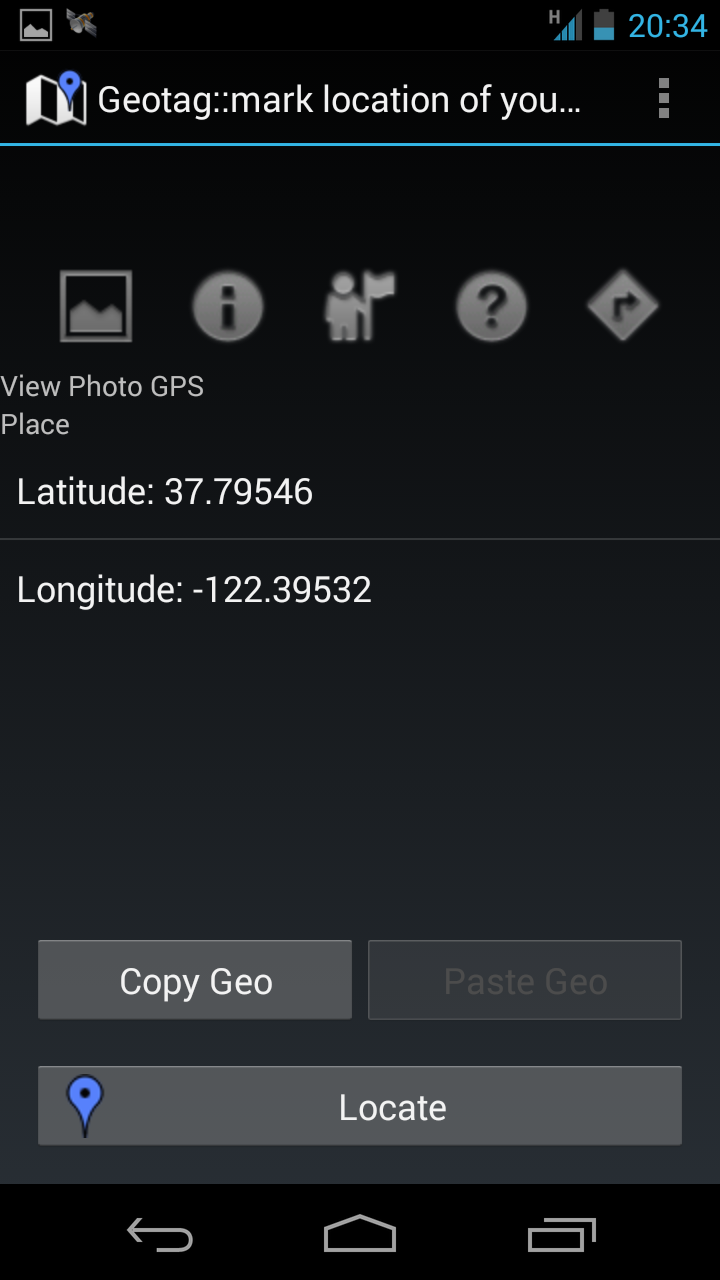
Tap on a photo to open it, then tap the info icon in the bottom right corner.
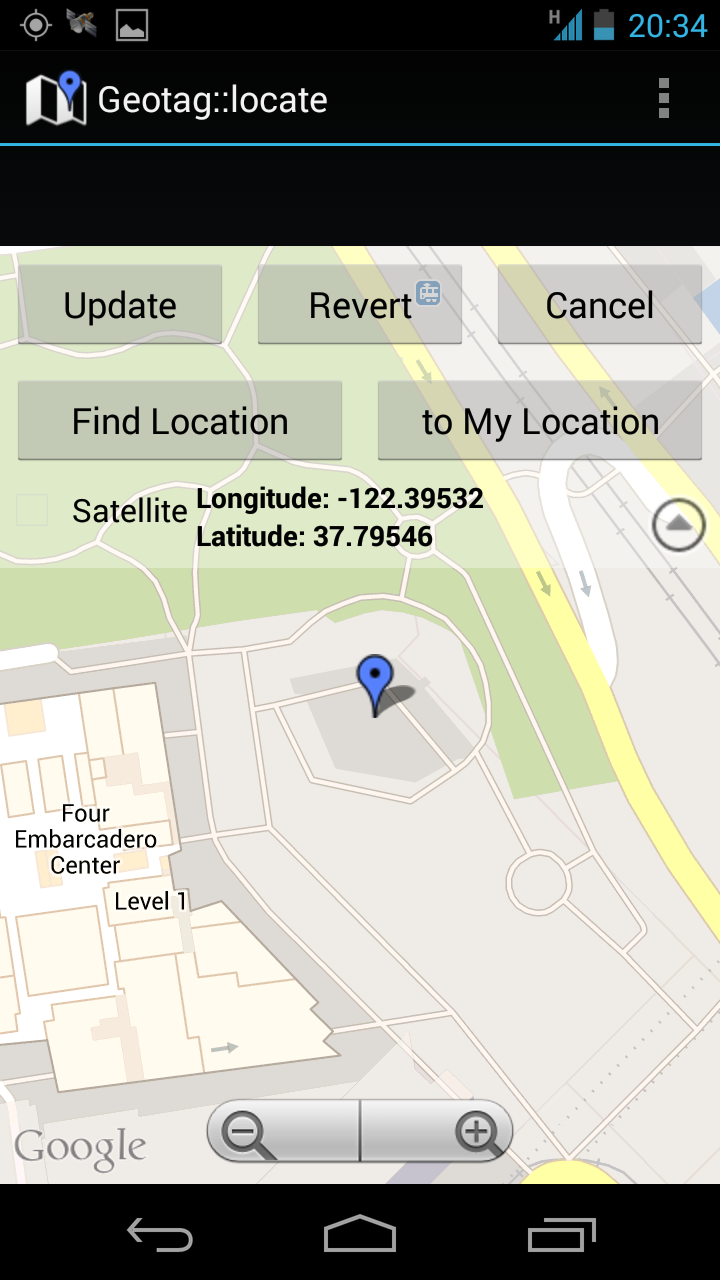
In the photo info window, tap �Edit location.�
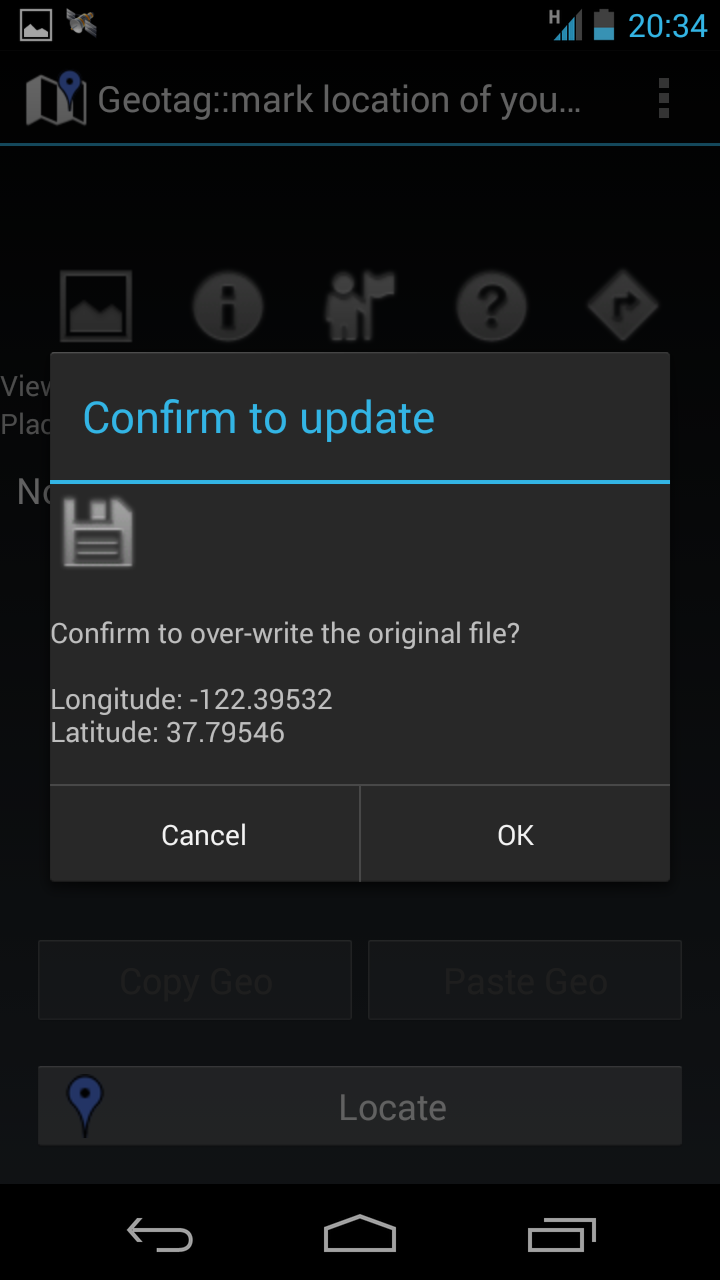
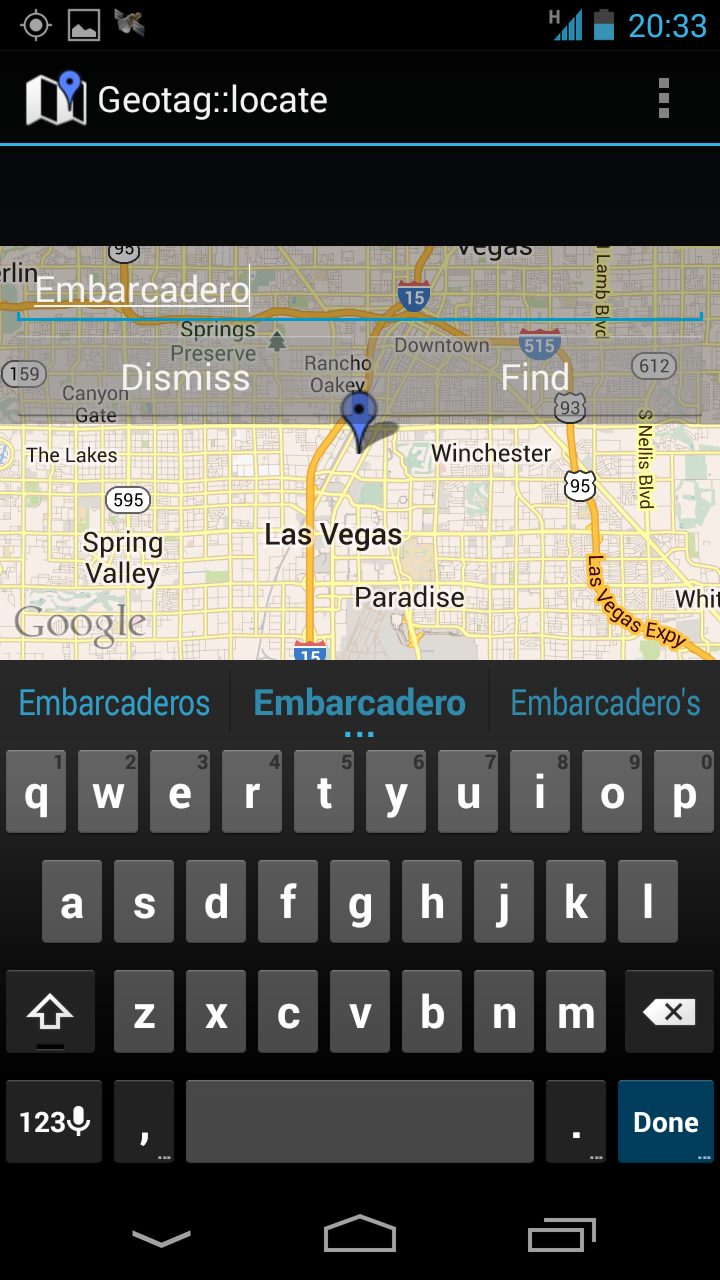
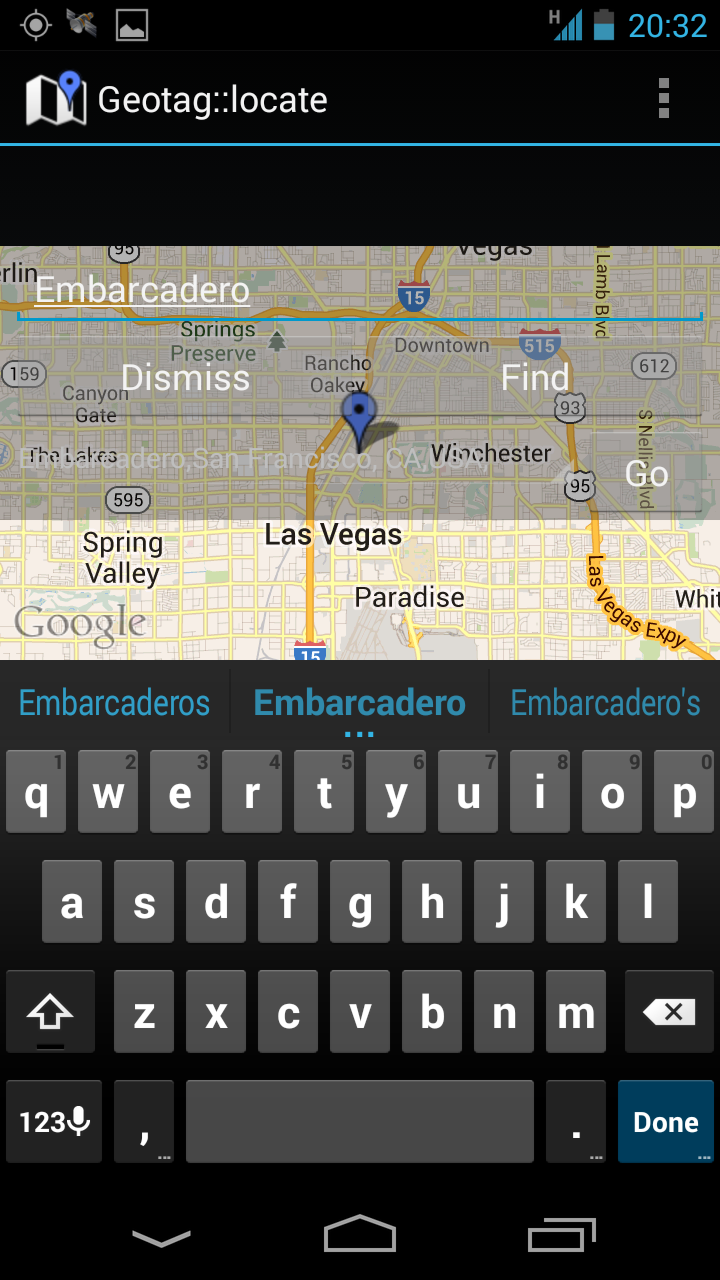
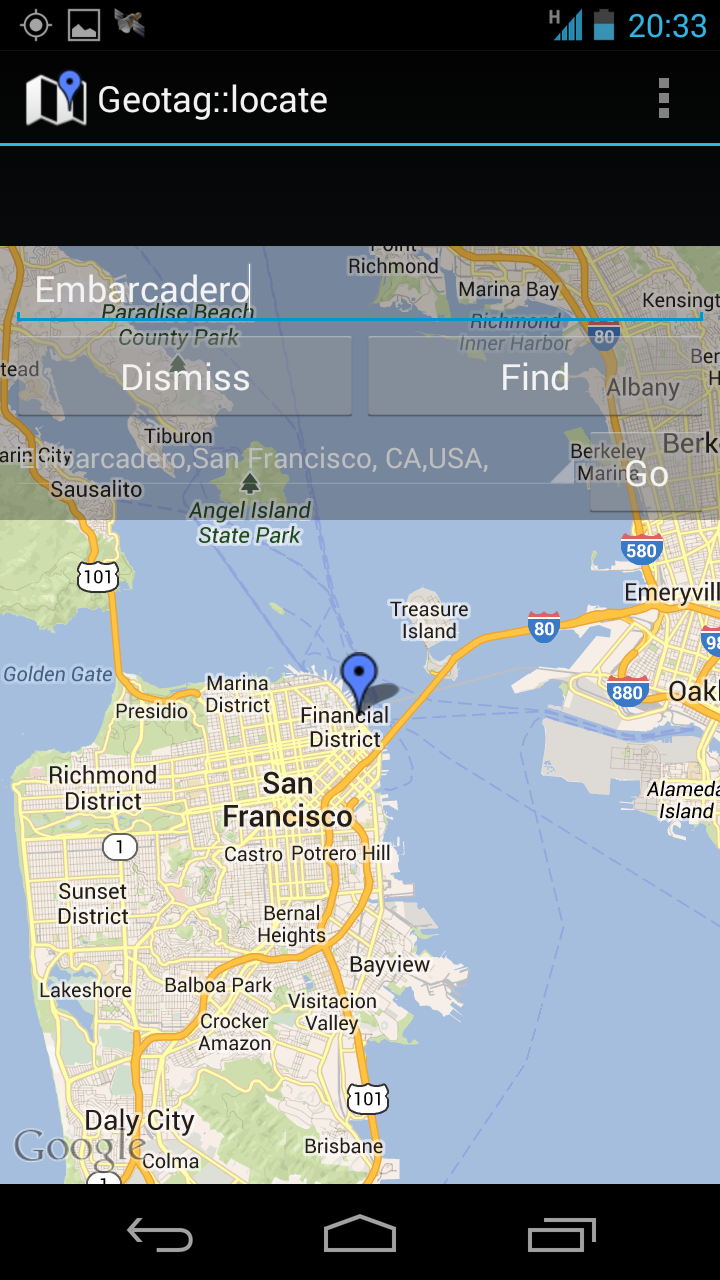
A map will open with a pin indicating where the photo was taken. You can move the pin to adjust the location if needed. When you�re finished, tap �Done.�
Your photo is now geotagged with the location you selected. To view the location of a photo, tap the info icon and then �View location.� The location will be marked on a map.
Related Links
![]() Attach
|
Attach
|
![]() Edit
|
Edit
|
![]() Revisions
Revisions
![]() Related Content
Related Content
Attachments
- 1 - Main User Interface.png (223 KB)
- 10 - Dismiss Find Location.png (209 KB)
- 11 - Confirm to update.png (104 KB)
- 12 - Updated Photo.png (361 KB)
- 2 - Load Image From Gallery.png (248 KB)
- 3 - Image Loaded.png (393 KB)
- 4 - No GEO info.png (95 KB)
- 5 - Locate.png (590 KB)
- 6 - Find Location.png (317 KB)
- 7 - Suggested Location.png (321 KB)
- 8 - Approximate Location.png (510 KB)
- 9 - Move Marker to Actual Location.png (183 KB)
- Screenshot_2013-09-29-20-34-48.png (110 KB)
495 Users Online
|
Get Our
$10000-above $5000-$9999 $2000-$4999 $1000-$1999 $500-$999 $200-$499 $100-$199 $50-$99 $25-$49 $0-$24 Gift Certificate 
|
|


