

![]() Attach
|
Attach
|
![]() Edit
|
Edit
|
![]() Revisions
Revisions
![]() Related Content
Related Content
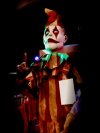
Post-Processing Creepy Clown on Android 4.3
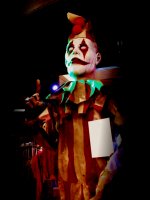
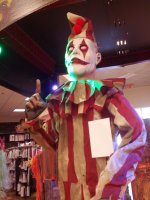
In this example article, we will explain how we created the "Creepy Clown" Halloween photo. We will provide step-by-step tutorial and screen shots of posting processing. We will change a typical shot of a Halloween prop into one that is scary, spooky, and worthy of the darkness of All Hallows' Eve (see transformation photos below). And we do it all through Android 4.3's Gallery edit function.

This article is an example within the series of "Creating Dramatic Halloween Photographs on Android".
Step-By-Step Transformation
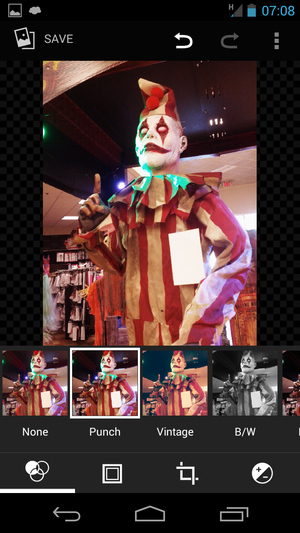
On the Android 4.3 Gallery, a small pencil button shows up at the lower left corner. That is the "Edit" button. When you tap it, Gallery enters the photo editing mode. We will use this editing function to make our Halloween photos more dramatic.
For this photo, the first thing we do is to select the "Punch" function (see screen shot below). The photo looks a little dull, straight out of the camera. After all, it has a strong back-light, which tends to wash out (flare) the lens. So the punch function gives it a little more pop.
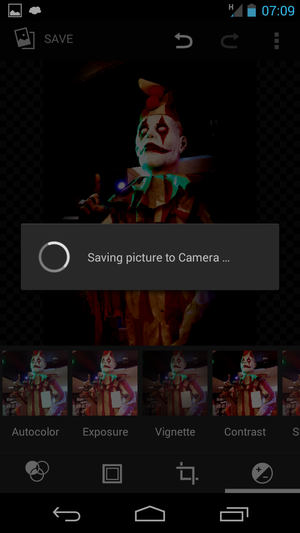
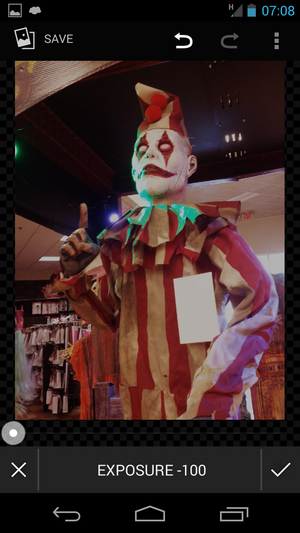
Few Halloween photos are shot during the day. Bright sunlight usually kills the Halloween mood. But we couldn't take this same photo any other time so we'll have to make due. In this case, we'll lower the exposure (see screen shot below) all the way. That creates a darker, but flat, mood.

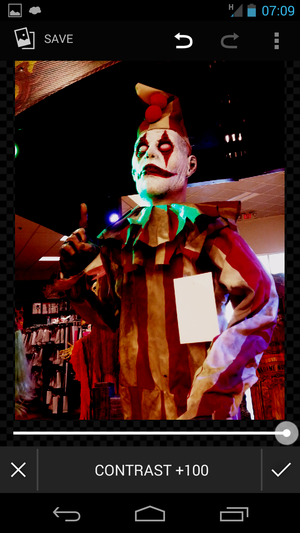
Then we pump up the contrast (see screen shot below) all the way to bring the pop back. Compare the photo below to the original photo. Noticed that everything has a much darker tone. Most of the shadows has gone completely into the black region. That's the histogram for most Halloween photos; dark and moody.

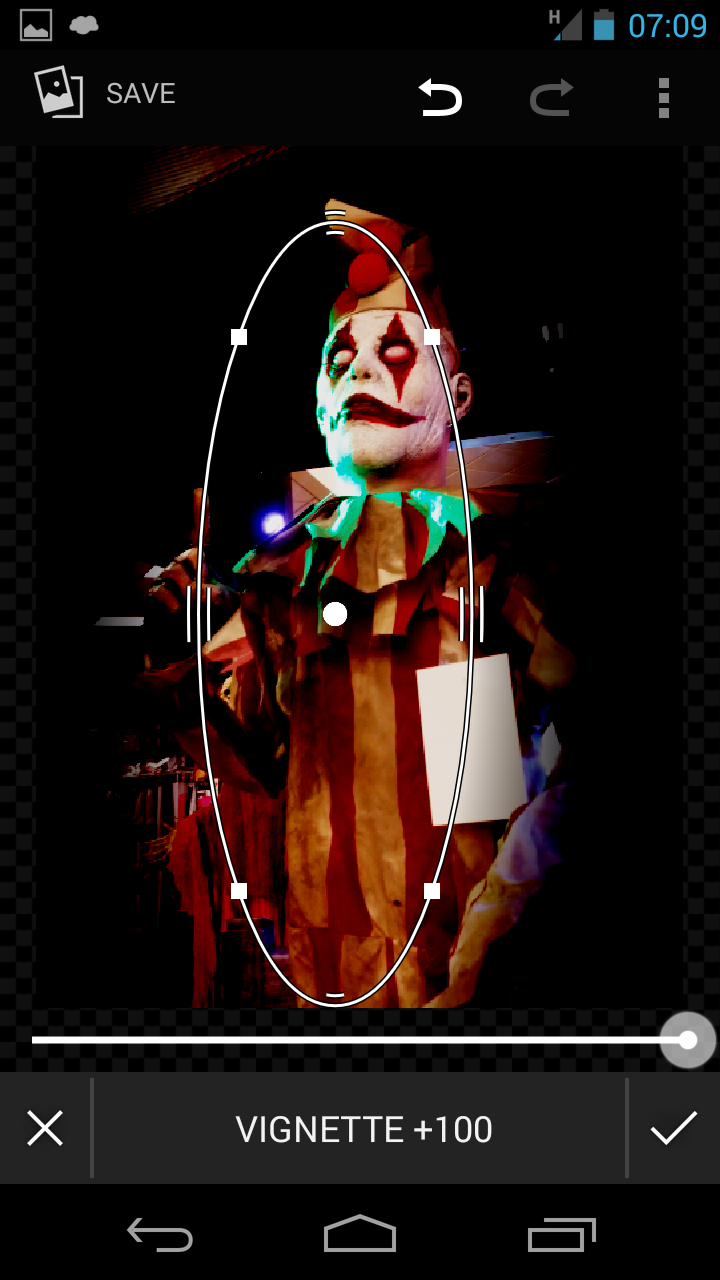
There is still too much clutter to make it look like Halloween. I mean, what's so scary about a clown standing in the middle of a retail store? Let's add some vignette (see screen shot below) to isolate the clown and add mystery to the circumstance. The vignette tool allows you to size the visible region. Use the circle in the middle to drag the area around. Use the other markers around the circle to change its size and shape.

The resulting dramatic Halloween photo is shown below. The black vignette masked out the clutter and forces your eyes to focus on the creepy clown. Can you think of a nice caption for the white card on his jacket?

When you are happy with the result, save the image using the "SAVE" button on the top left corner.
![]() Attach
|
Attach
|
![]() Edit
|
Edit
|
![]() Revisions
Revisions
![]() Related Content
Related Content
Attachments
- 2 - Punch (Small).png (174 KB)
- 2 - Punch.png (806 KB)
- 3 - Exposure (Small).png (172 KB)
- 3 - Exposure.png (829 KB)
- 4 - Contrast (Small).png (141 KB)
- 4 - Contrast.png (550 KB)
- 5 - Vignette (Small).png (94 KB)
- 5 - Vignette.png (261 KB)
- 6 - Saving picture to Camera (Small).png (84 KB)
- 6 - Saving picture to Camera.png (308 KB)
- Creepy Clown (Full).JPG (17 KB)
- Creepy Clown - original.jpg (9 KB)
- Creepy Clown thumbnail.JPG (3 KB)
- Creepy Clown.JPG (6 KB)
722 Users Online
|
Get Our
$10000-above $5000-$9999 $2000-$4999 $1000-$1999 $500-$999 $200-$499 $100-$199 $50-$99 $25-$49 $0-$24 Gift Certificate 
|
|

